


I am not a baker. I’m not quite sure how cooking comes so easily to me, while most of my baked creations end in sad little piles of char. It’s definitely something I need to work on. My friend Hayley, on the other hand, is a baking queen. So, this afternoon we teamed up (aka I wrote the recipe and took pictures of her baking) to make something really cool: our own version of cookie shots.
BEST FOR- Lazy Sunday afternoons when you feel like making drool & Pinterest worthy creations with a friend.
MUSICAL PAIRING- “Build Me Up Buttercup” by the Foundations
INGREDIENTS
1 cup all-purpose flour
¼ teaspoon baking soda
¼ teaspoon salt
6 tbs. unsalted butter, melted, plus more for greasing
½ cup packed brown sugar
¼ cup white sugar
½ tbs. vanilla extract
1 egg
¾ cups semisweet mini chocolate chips
Pie weights or dried baking beans
+ toppings & fillings of choice (ex. melted chocolate, nutella, peanut butter, ice cream, milk)

DIRECTIONS
In a medium bowl, sift together salt, flour, and baking soda.

In another medium bowl, combine melted butter, brown sugar, and white sugar. Using stand mixer or hand mixer, blend until well blended.
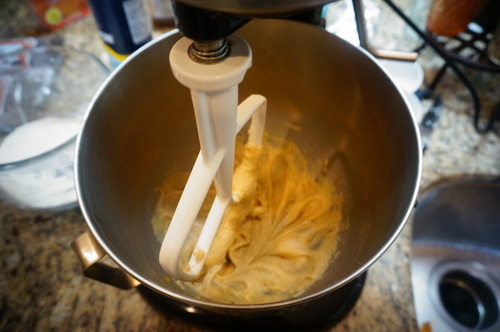
Add vanilla and egg. Blend until light and creamy.

Add in the flour mixer. Using a wooden spoon, mix until just blended. Do not over mix! Then, stir in chocolate chips.

Cover with plastic wrap. If you’re in a pinch, freeze for 20 minutes. Otherwise refrigerate for an hour or up to overnight.
NOTE: If baking immediately, now would be a good time to preheat the oven to 325° F.
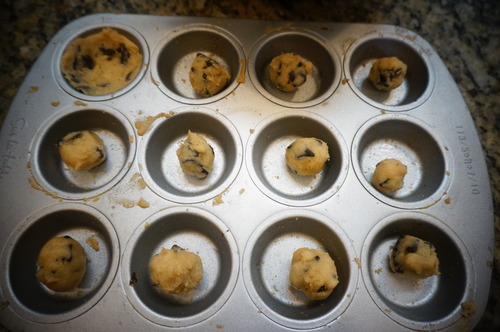
Once the batter is properly chilled, it’s time to get creative. Get a mini muffin tin, and 1 tbs of batter. Using your hands roll the batter into a little ball and flatten onto the bottom of the cups. Make sure it doesn’t creep up the sides at all, but that the dough only covers the bottom of the tin.
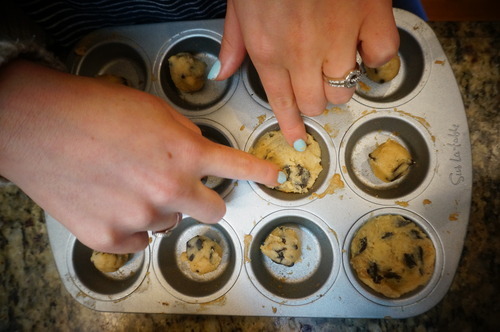
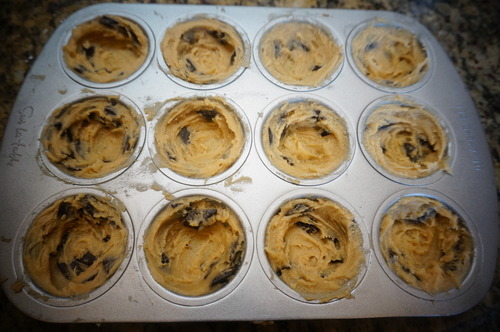
Once you’ve covered all the bottoms of the tins, it’s time to work on the sides. Create logs of batter by rolling out balls with your hand of batter. Shape the logs to the side of the cups with your hands, ensuring the batter ends in line with the top of the cup. For perfect cookie shots, try to get the batter as flat against the sides of the top as possible, without it curving into the middle too much.
Cut squares of aluminum foil so that it fits the inside of the muffin cup. Carefully place foil above dough inside each cup and then cover with pie weights or dried beans.

Bake until they brown around the edges or about 12-14 minutes. Then, remove from oven, gently remove the weights/beans and foil, and let cool for 10 minutes. Top with toppings & fillings of choice, and you’re good to go!
TOPPINGS & FILLINGS
You have a plethora of topping choices!
- For filled with nutella or peanut butter: add the nutella/ peanut butter immediately after the cookies are removed from the oven so that it melts with the cookie.
- For milk or ice cream: wait until they fully cool then add ice cream/ milk.
- If your cookies have no cracks, fill them with milk!


